
The Best Ever Paper Flowers to Make (Free Templates)
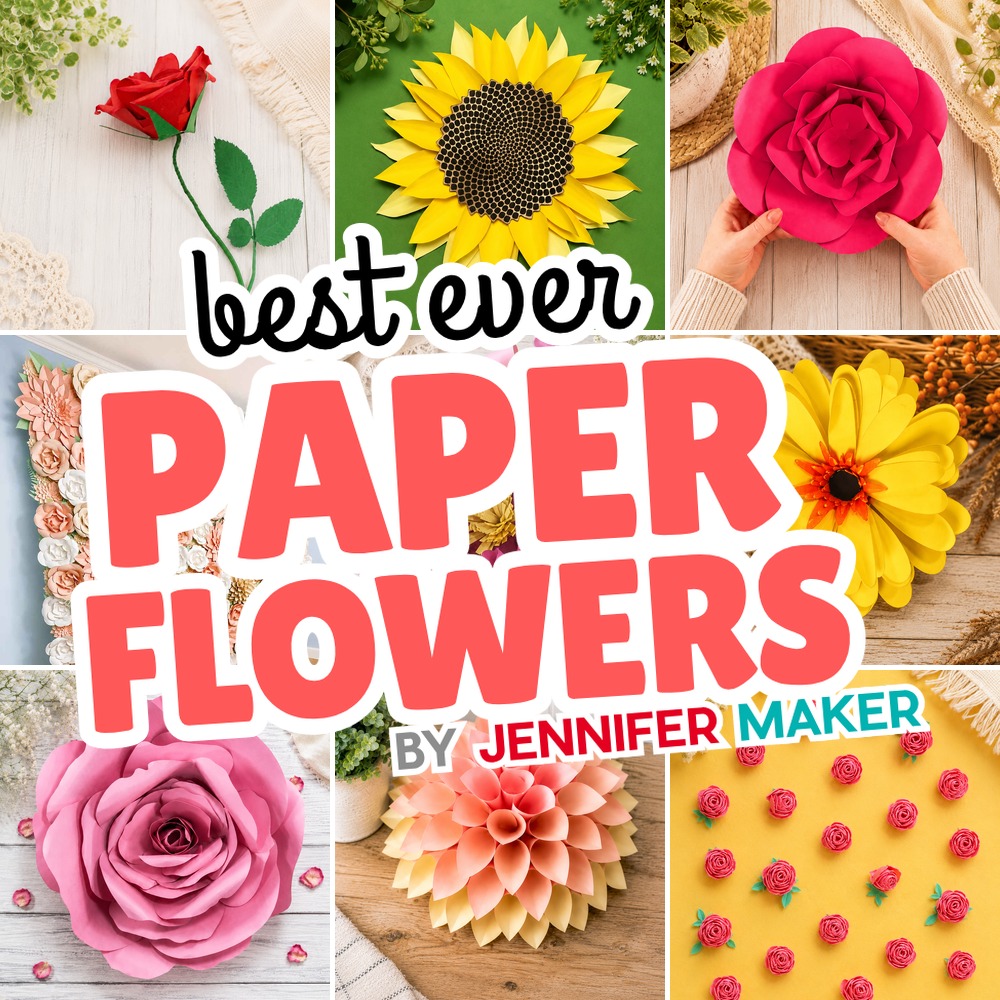
I started making paper flowers for a simple reason: I live in Michigan, where real flowers disappear for a good six months of the year. Paper ones never wilt, never mind the snow, and honestly, they look amazing for how little they ask of you. Over the years I have designed dozens of them, and readers keep asking the same question, which one should I make first?
That is exactly what this page is for. Instead of scrolling through every flower I have ever made, this is my honest shortlist, sorted so you can find the right one for your skill level, your time, and what you are decorating. Some are tiny rolled blooms you can finish in an afternoon. Some are giant statement flowers for a party wall. All of them come with free templates, and I will tell you which ones a beginner should actually start with.
About My Collection

Maker Cabinet is created by me, Jennifer Maker. I curate the best projects from my own sites so you can decide what to make, then head over to JenniferMaker.com for the full step-by-step tutorial and free files.
Let’s get started!

Why these 15 flowers made the cut
I chose flowers that give you the most joy for the least frustration, and I made sure they were genuinely different from one another, not five versions of the same rose. You will find the easy rolled flowers I steer nervous beginners toward, a few giant show-offs for events, the most realistic blooms for everyday decor, and two projects for turning your flowers into a finished bouquet or backdrop. I left off my more advanced and novelty designs (the unicorn flowers and flower fairy dolls are adorable, but they are not where you want to begin).
Which one should you make? A quick guide
- Brand new to this? Start with the Rolled Paper Rose. It is the one I hand every beginner.
- Want maximum wow for a party or photo wall? The Giant Paper Flowers or a full Flower Backdrop.
- Making a gift someone can keep? The 3D Paper Flower Bouquet.
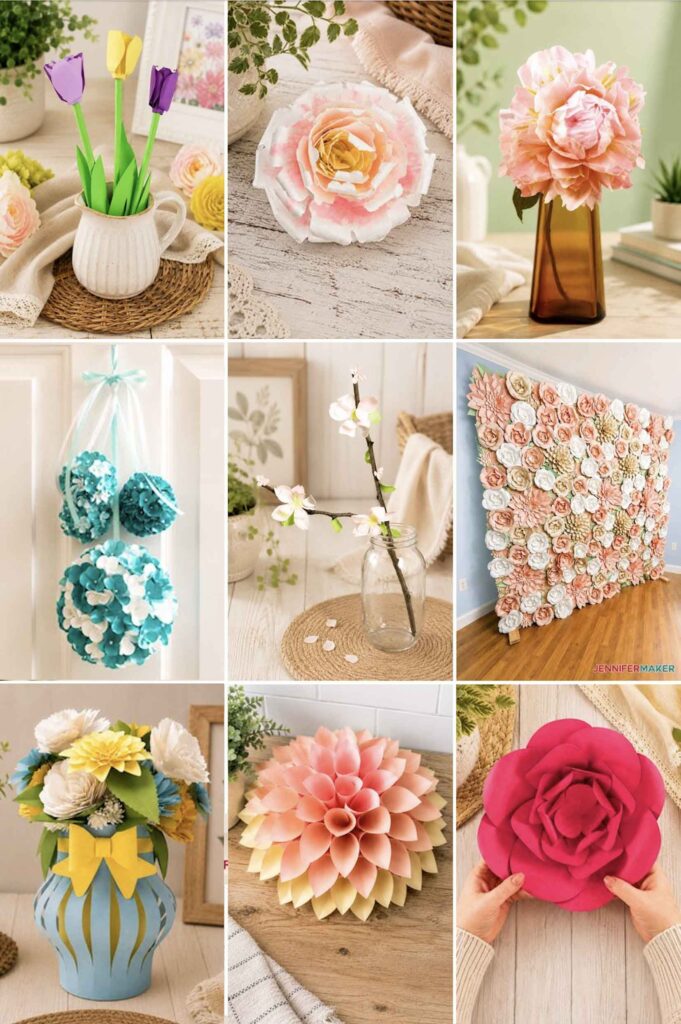
- Want the most realistic bloom on a mantel? The Crepe Paper Peony.
- Short on time, or have little helpers? The Paper Daisy rolls up fast.
Start here: the easiest rolled flowers
Rolled flowers are cut from a single spiral and wound up into a bloom, so there is no fussy petal-by-petal gluing. This is the family I send beginners to first, and it is where I would start too.
Rolled Paper Rose
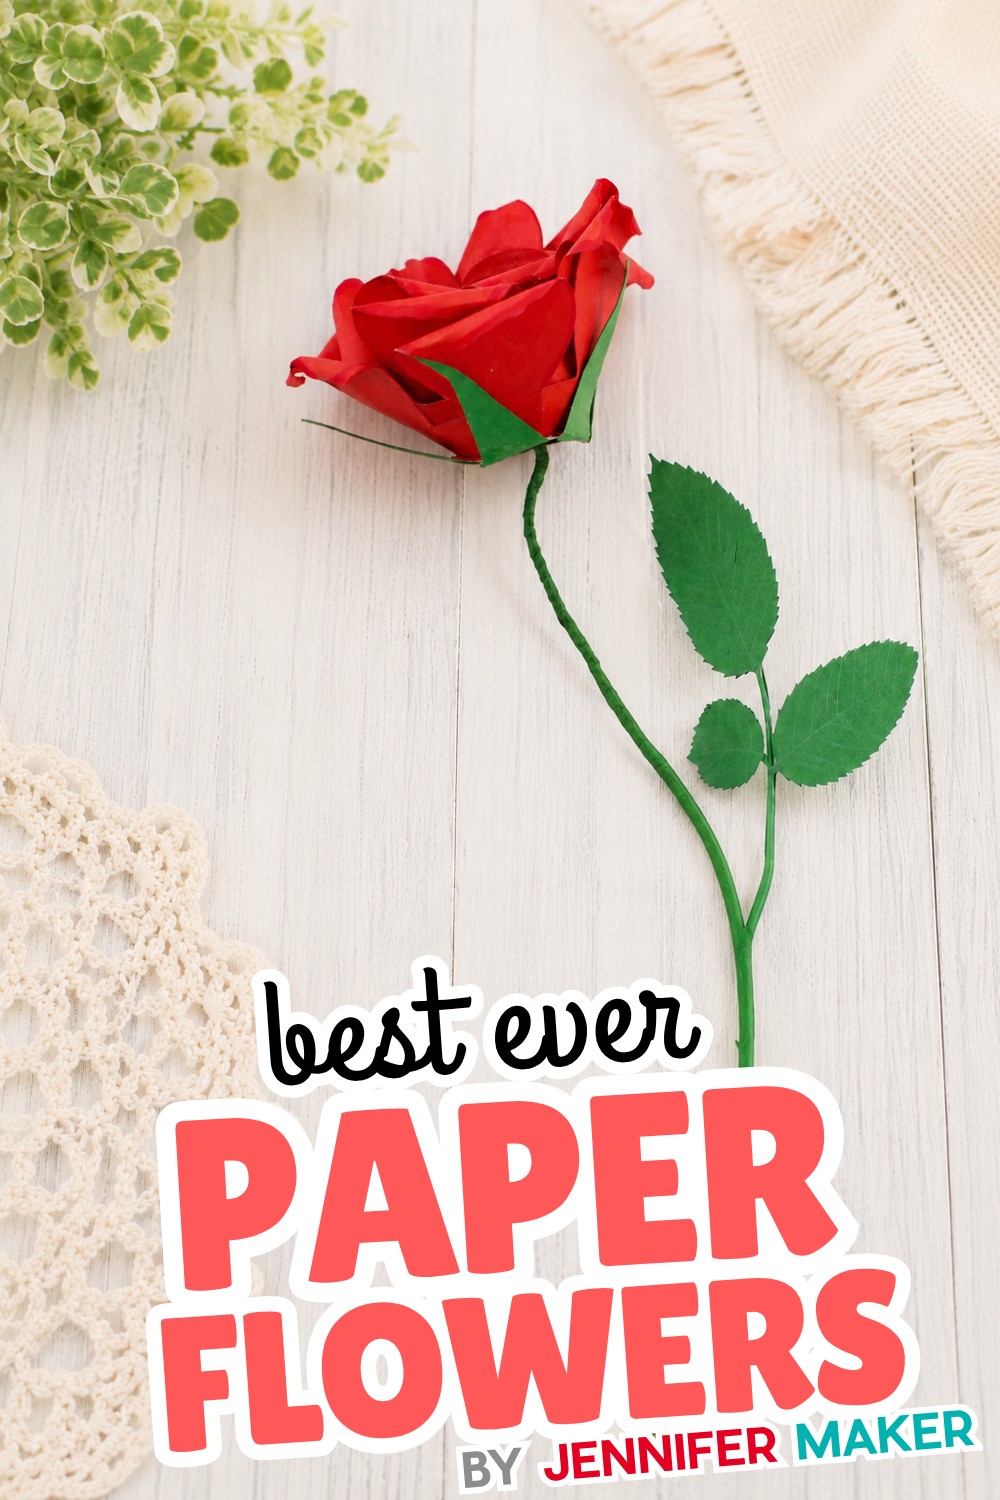
If you make one flower from this whole list, make this one. The rolled rose is the project I point every single nervous beginner to, because the spiral does the hard work for you and it is almost impossible to make an ugly one. Roll it tight for a bud, loose for a full bloom, and you have already learned the technique behind half the other flowers here.
Difficulty: Easiest · Tools: Free SVG plus a printable PDF, so a Cricut or Silhouette makes it fast but you can cut by hand · Best for: Your very first flower, gifts, bouquets
My take: Roll a few in different sizes and colors before you commit to a project. Once your fingers learn the rhythm, you will not want to stop.
Paper Daisy (Rolled Gerbera)
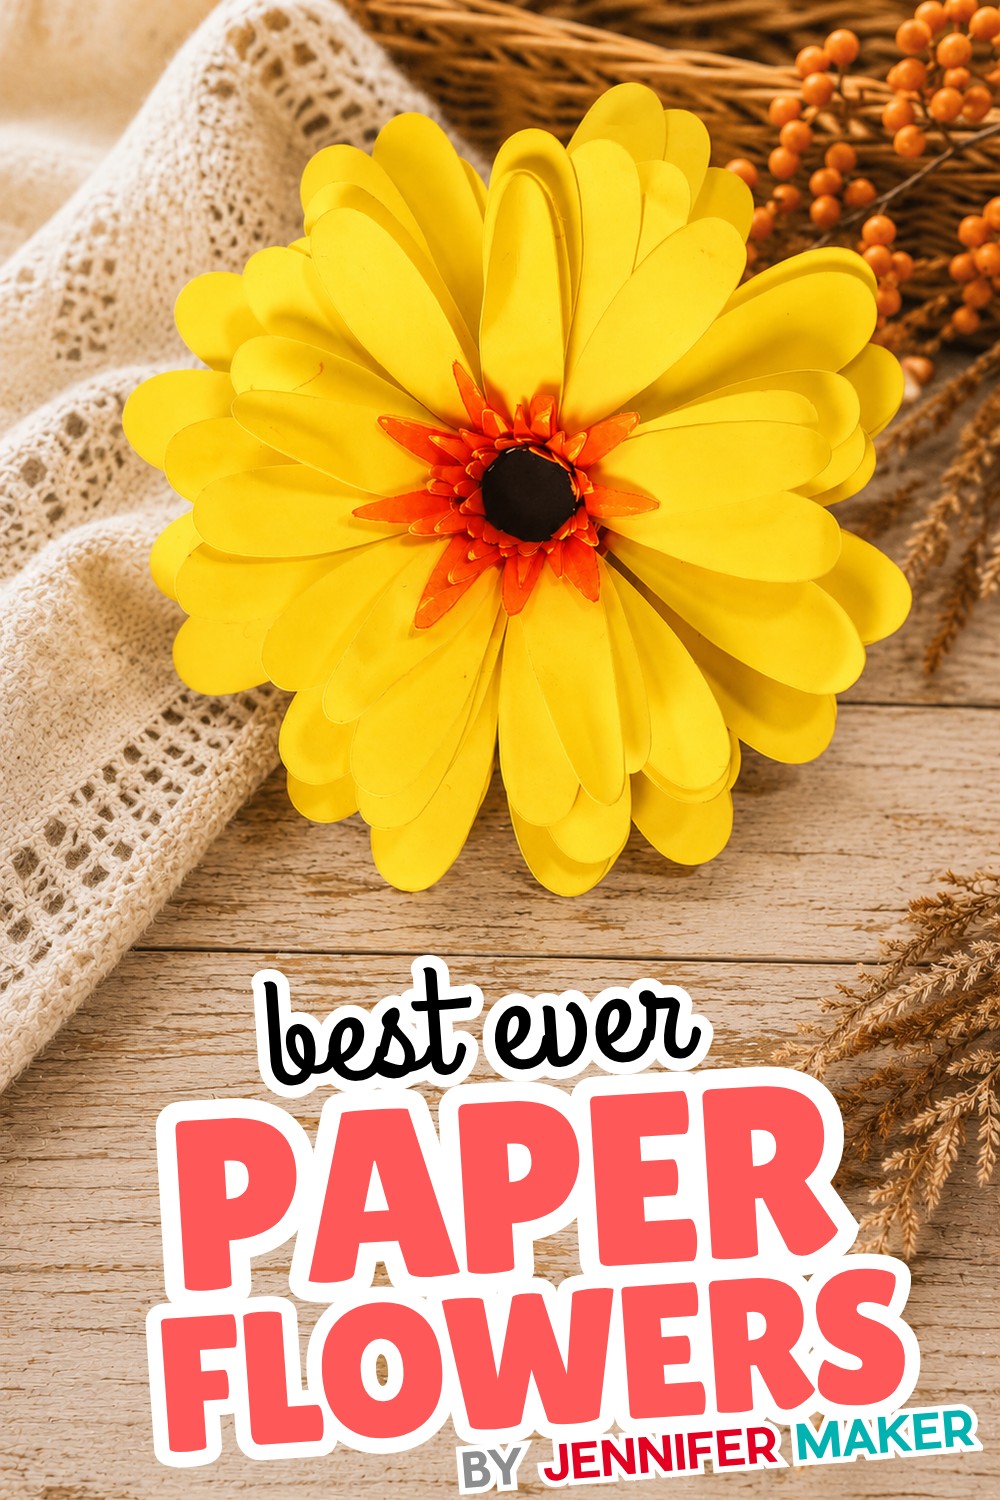
The daisy is the fastest happy little flower on this list, which makes it the one I reach for when I want a quick win or when small hands are helping. It uses the same rolling idea as the rose but with fringed petals, so it comes together in a flash and looks instantly cheerful in a bright color.
Difficulty: Easiest · Tools: Free template; a cutting machine keeps the fringe crisp · Best for: Fast projects, cards, crafting with kids
My take: Make a whole meadow of these in mismatched colors. They are cheerful in a way that is hard to overdo.
Paper Tulip
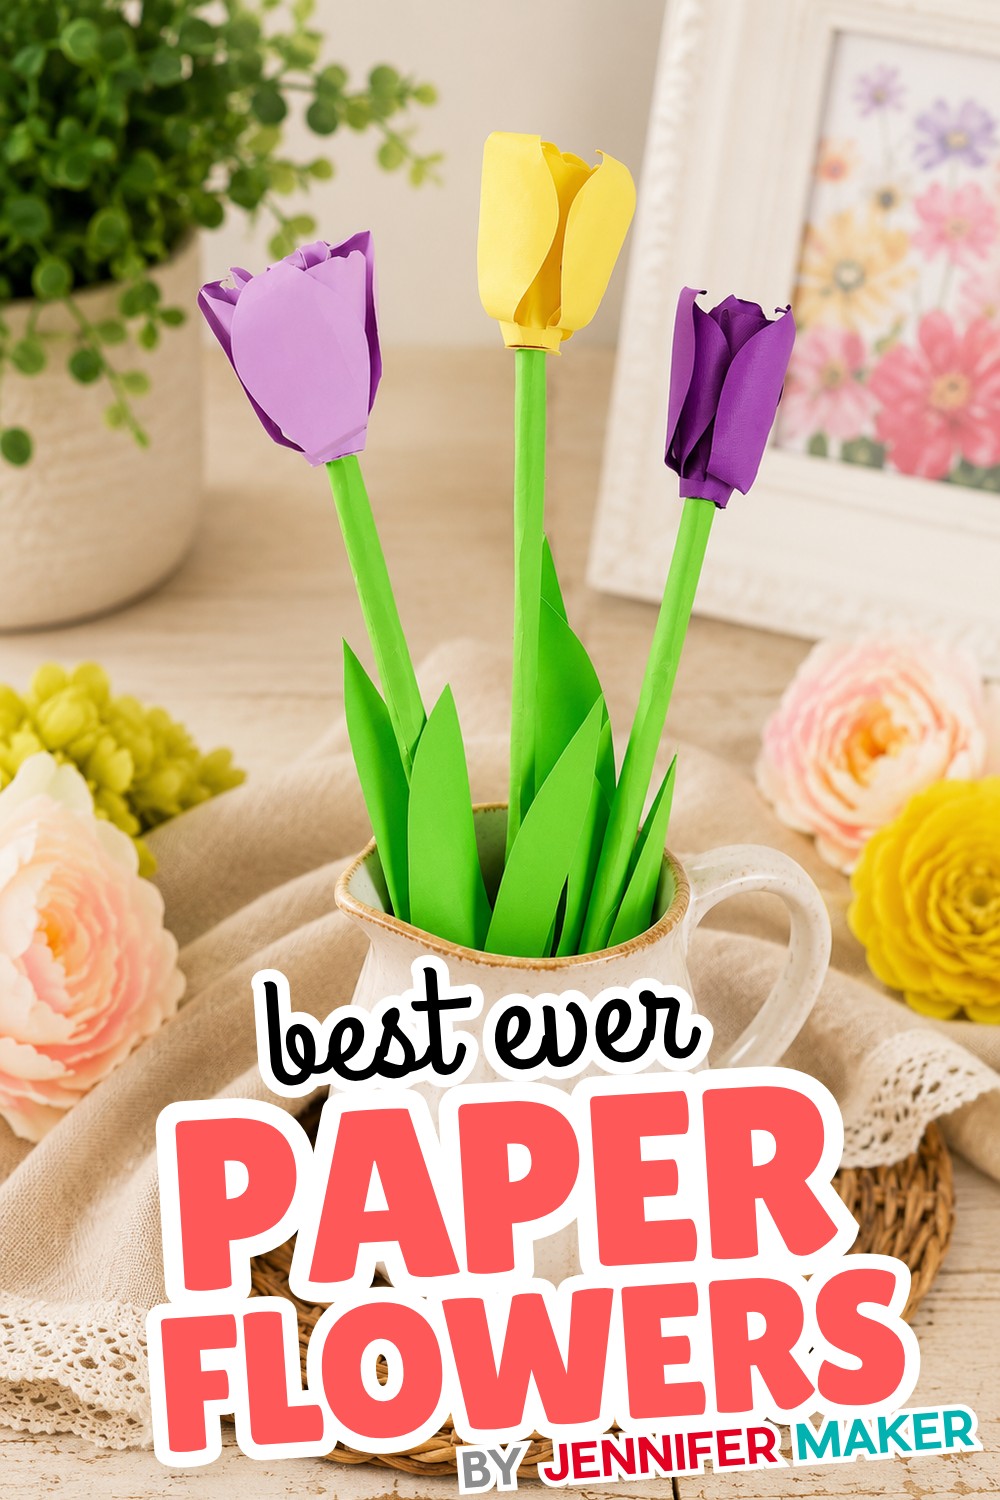
This one is special to me because readers voted for it, nearly 300 of you picked the tulip when I asked what to design next. It has a little more shaping than the rose, which gives it that unmistakable cupped tulip silhouette, but it is still firmly in beginner territory. It is the flower that makes a room feel like spring, even in February.
Difficulty: Easy · Tools: Free SVG and PDF; cut by hand or by machine · Best for: Spring decor, a cheerful windowsill pot
My take: Group three or five in a little pot. Odd numbers always look more natural than even ones.
Rolled Paper Peony
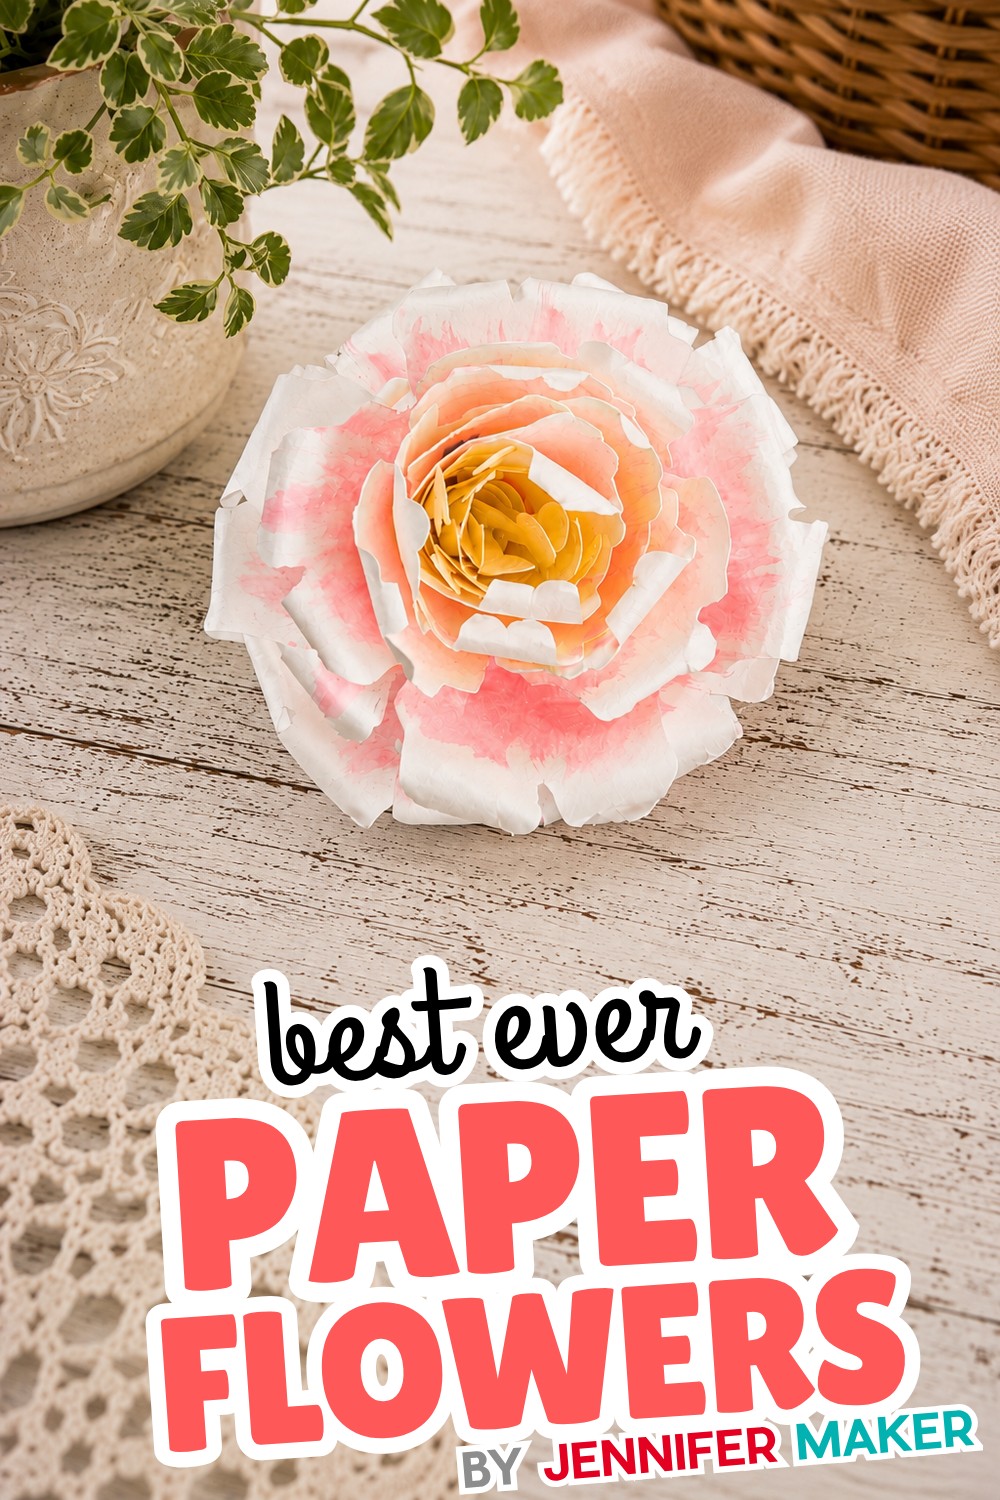
A peony gives you that lush, ruffly, expensive-florist look, and the rolled version keeps it beginner-friendly. It has more layers than the rose, so it takes a little longer, but nothing here is hard. If you loved making the rose and want to level up by one small step, this is your next flower.
Difficulty: Easy · Tools: Free template; machine or by hand · Best for: A fuller, romantic look; bouquets
My take: Blush and cream cardstock reads the most like a real peony. It is my favorite color combination for this one.
Miniature Paper Roses
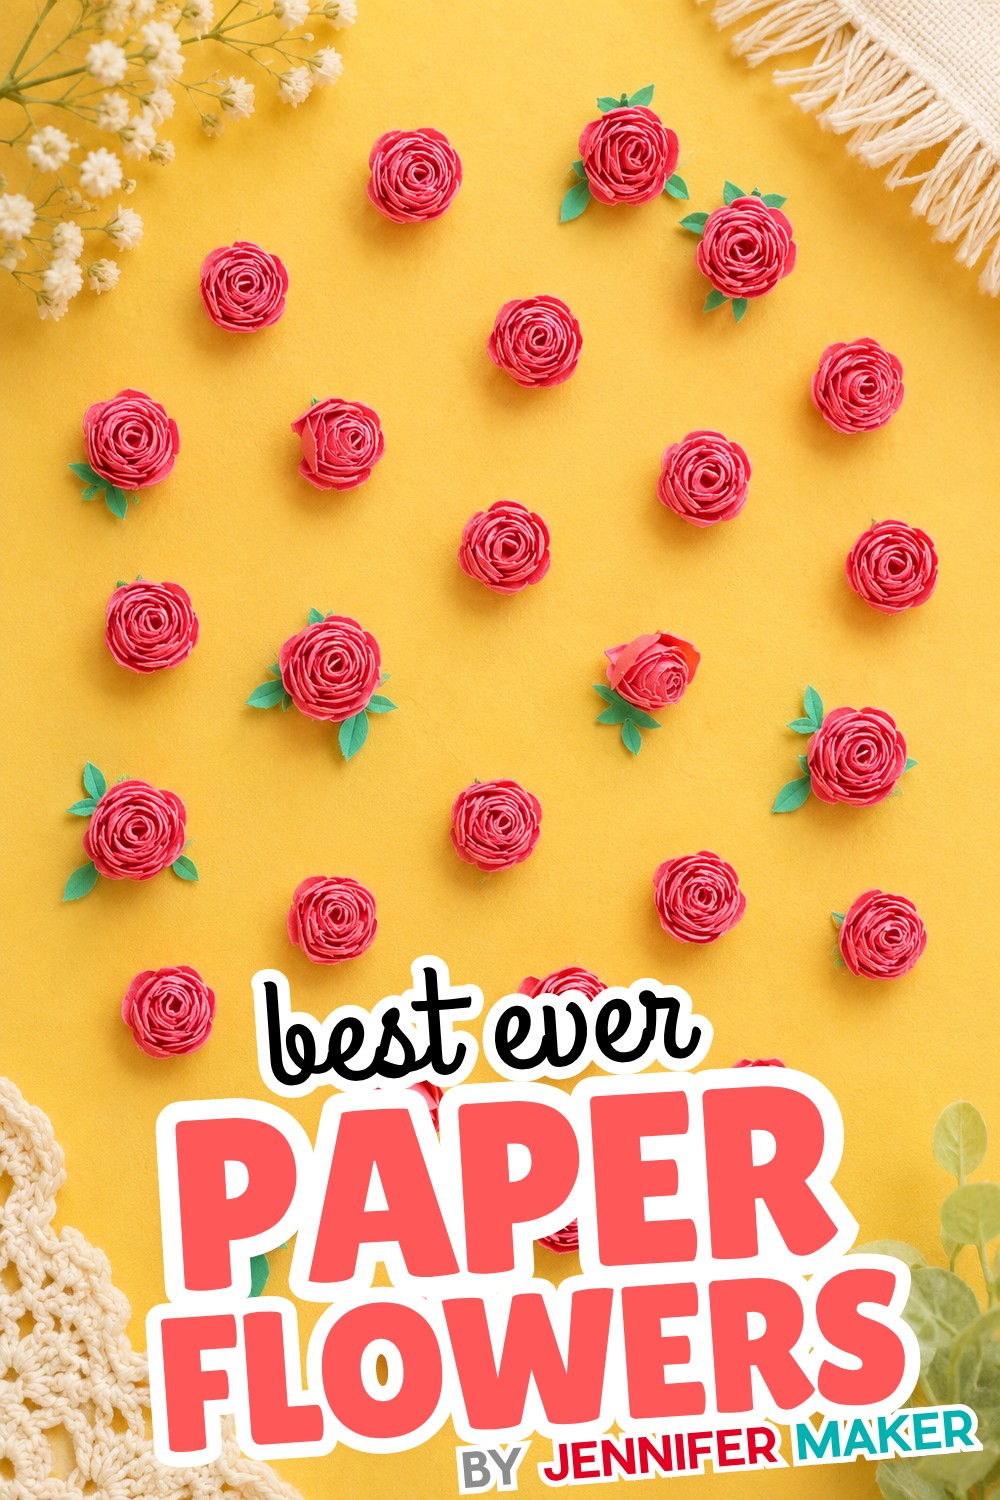
These are the little roses I made to decorate a luminary, and they turned out to be endlessly useful, on cards, favors, gift wrap, tiny wreaths. They are the same rolling technique shrunk down, so they are easy in concept but fiddly in scale. This is the one place I would tell you a cutting machine really earns its keep, because cutting a tight spiral this small by hand is a test of patience.
Difficulty: Easy technique, fiddly size · Tools: A Cricut or Silhouette is strongly recommended here · Best for: Cards, favors, embellishments
My take: A dab of glue on a toothpick is your best friend for these. Make a dozen at once, since you will use them everywhere.
Show-stoppers: giant paper flowers
These are the flowers people gasp at. They are bigger than your hand, sometimes bigger than your head, and they turn a plain wall into an event. They take more paper and more time than the rolled flowers, but the technique is surprisingly forgiving.
Easy Giant Paper Flowers
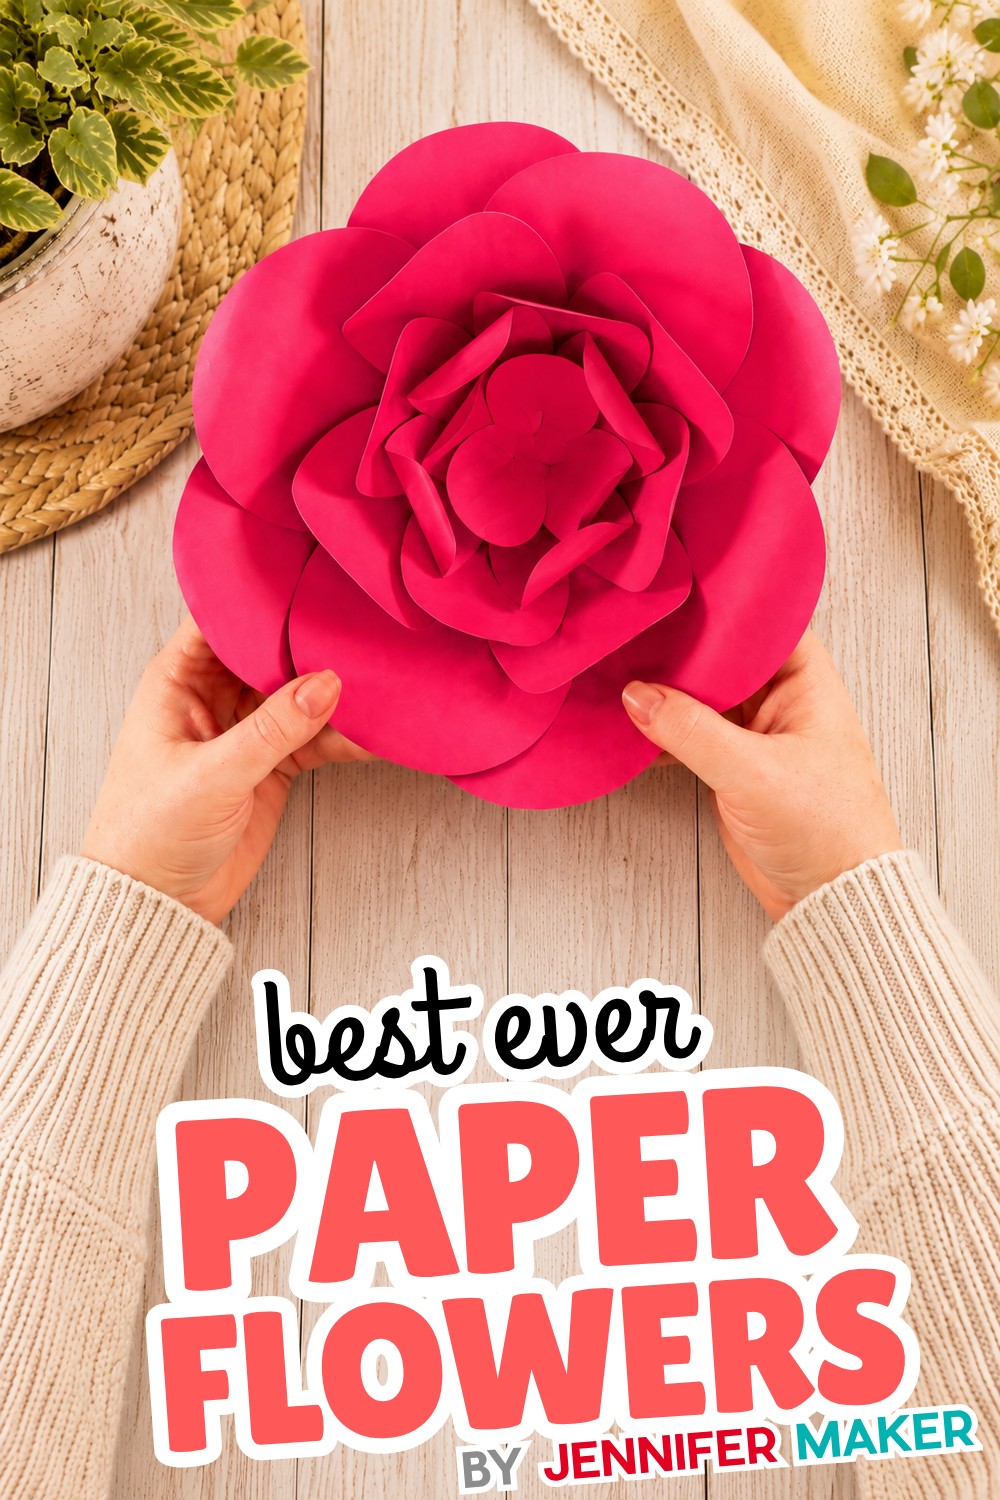
Start your giant-flower journey here. This is my simplest, fastest big-flower tutorial, the one that proves a dramatic bloom does not have to be complicated. If you have a party, a nursery, or a photo backdrop in mind and you want the most impact for the least effort, this is the entry point before the fancier giants below.
Difficulty: Beginner-friendly (just bigger) · Tools: Free templates; cut by hand or machine · Best for: Weddings, backdrops, nurseries
My take: Make three at slightly different sizes and cluster them. A trio always looks more designed than a single flower floating alone.
Giant Spellbound Rose
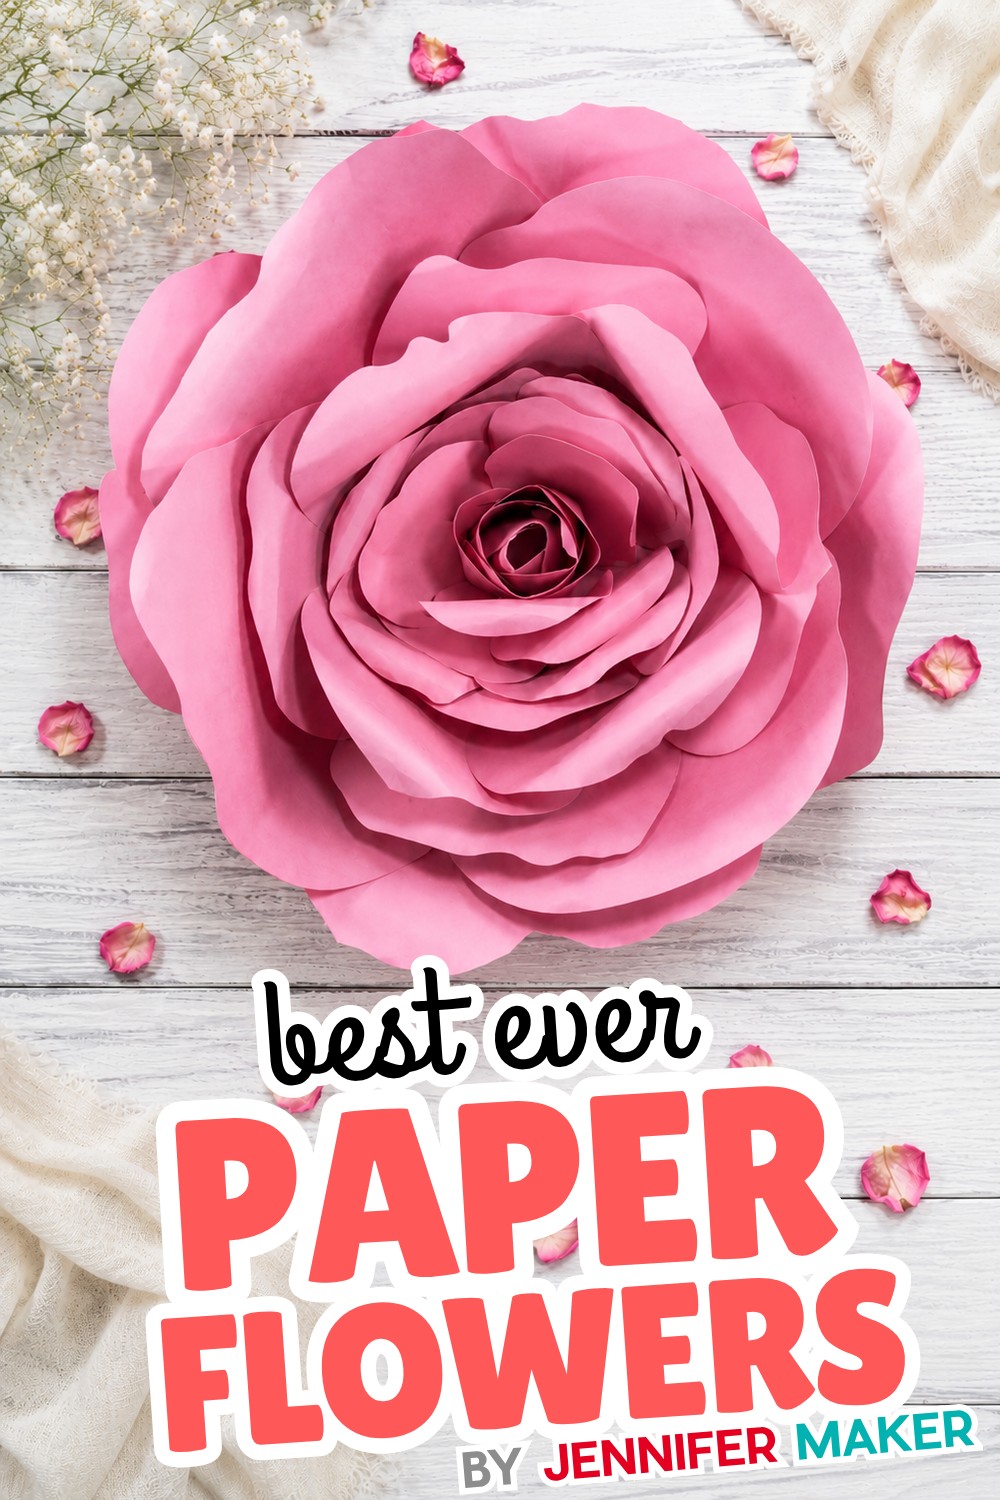
This is the flower that started my whole giant-flower obsession, and it is still a reader favorite. Every petal is a slightly different shape, which is what makes it look so real instead of like a paper craft. It is a step up from the easy giant above, and worth it when you want one truly jaw-dropping centerpiece flower.
Difficulty: Confident beginner · Tools: Free template; machine recommended for all those unique petals · Best for: A statement centerpiece, wedding decor
My take: This is the one to make first if you want a single big flower rather than a whole wall. It photographs beautifully.
Giant Paper Peony
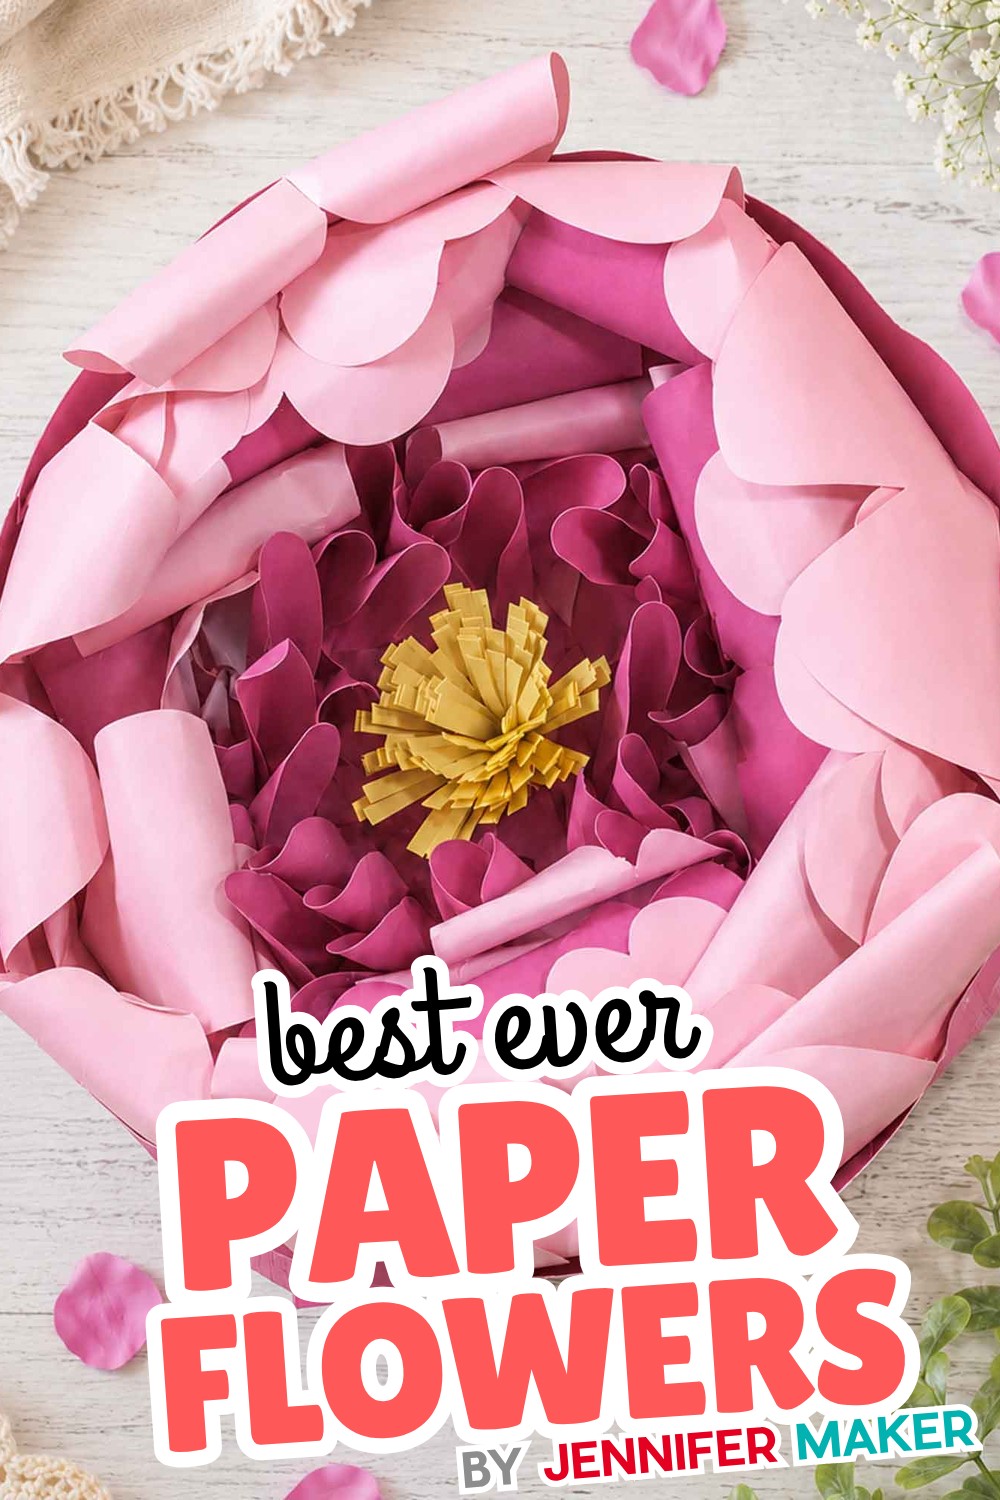
If the spellbound rose is drama, the giant peony is softness. All those layered, ruffled petals give it incredible depth, and it is the giant I reach for when I want something romantic rather than bold. It has the most petals of the giants here, so save it for when you have a relaxed afternoon and want to sink into a project.
Difficulty: Intermediate (lots of petals) · Tools: Free template; a cutting machine saves real time · Best for: Romantic decor, bridal and baby showers
My take: Curl the petal edges more than you think you need to. That curl is the whole difference between flat paper and a real-looking peony.
Giant Paper Sunflower
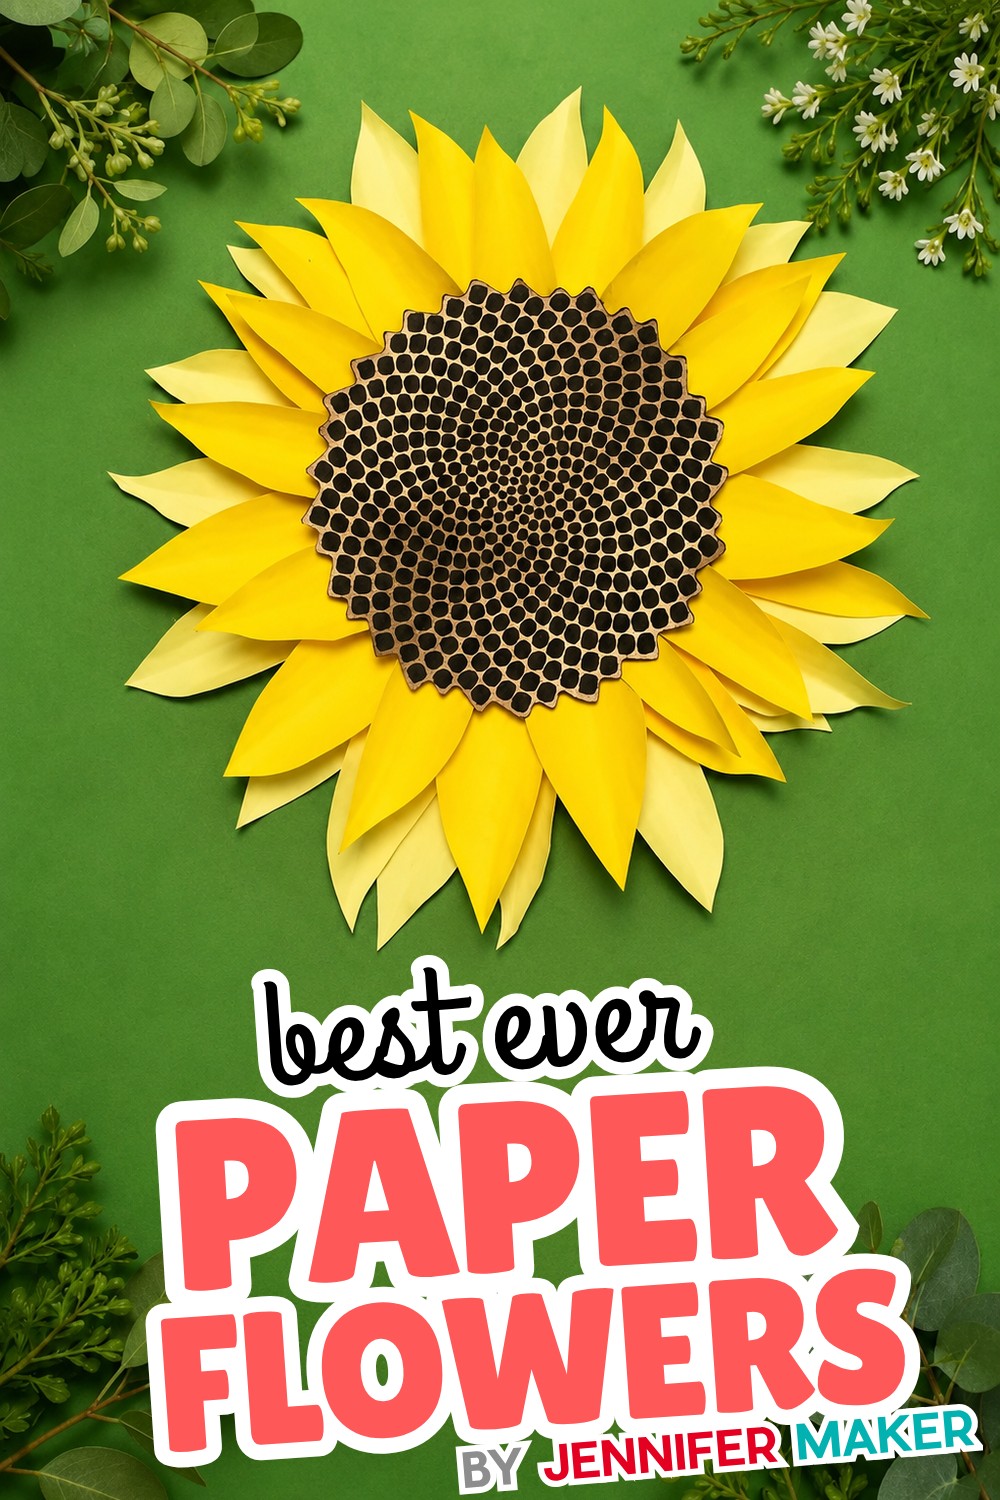
The sunflower has a mesmerizing spiral center based on the same pattern real sunflowers use, and that detail is what makes people lean in for a closer look. It is cheerful, it is big, and it brings instant warmth to a fall party or a sunny kitchen wall. Of the giants, it is one of the friendliest to make.
Difficulty: Beginner-friendly · Tools: Free template; hand or machine · Best for: Fall decor, weddings, cheerful walls
My take: Take your time on the spiral center. It looks intricate but it is just patient rolling, and it is the part everyone compliments.
Most realistic: specialty blooms
When you want a flower that makes people do a double take, these are the ones. A couple use crepe paper instead of cardstock for a softer, more lifelike petal, and they are worth the small change in material.
Crepe Paper Peony
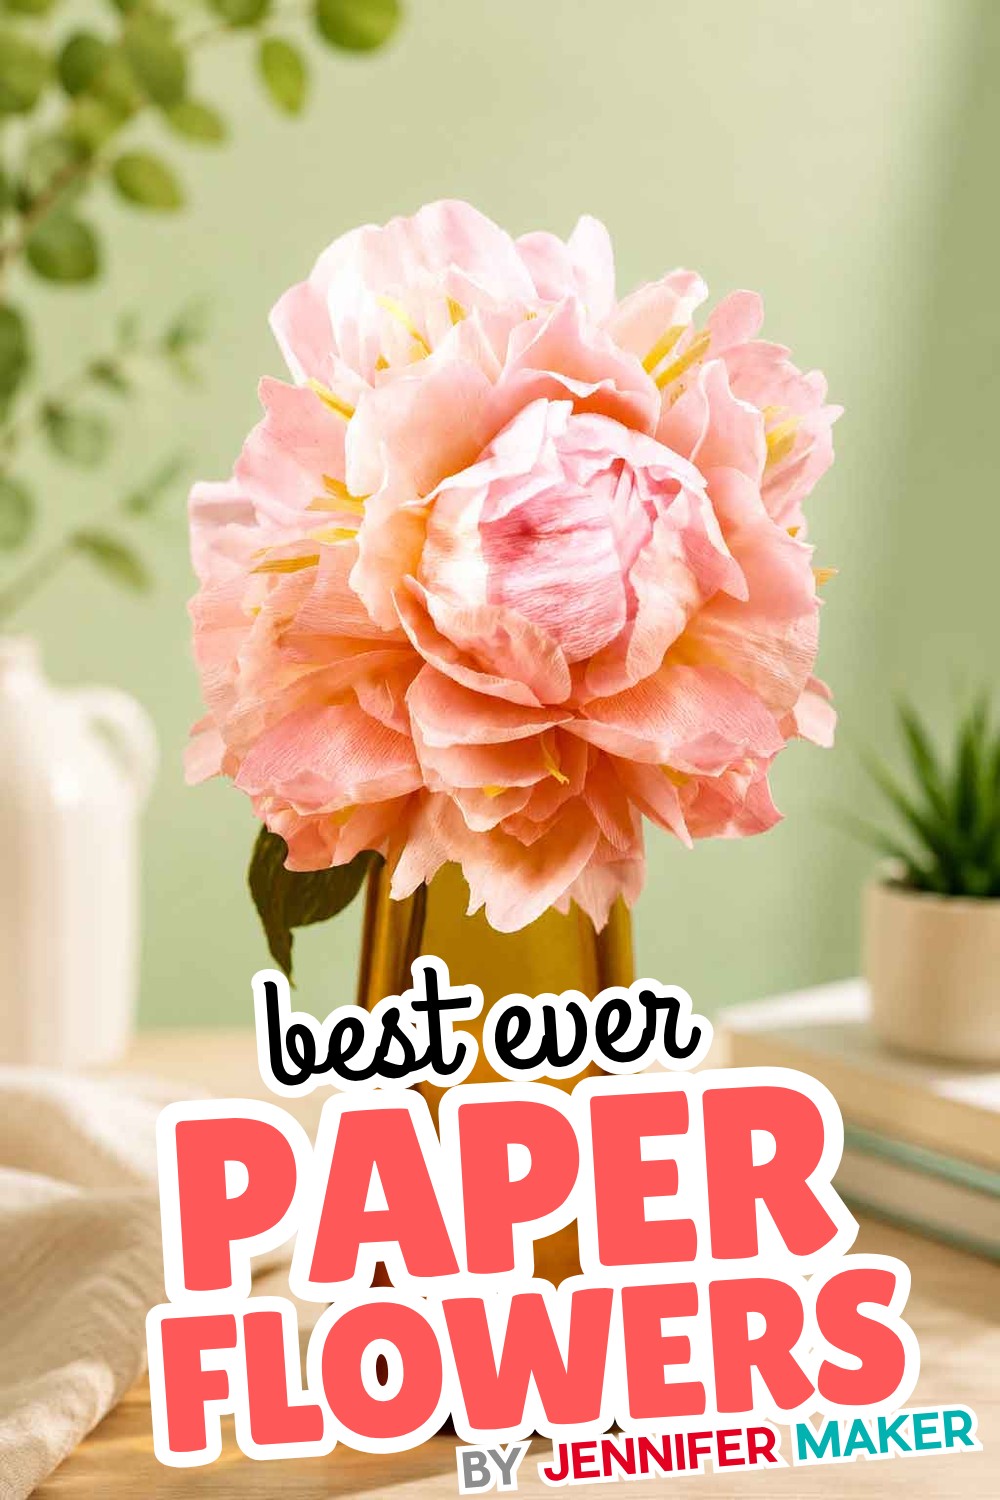
This is the most realistic flower on the whole list. Crepe paper stretches and holds a curl in a way cardstock cannot, so the petals get that delicate, cupped, almost translucent quality of a real peony. It is a different feel from the cardstock flowers, a little more like sculpting, and it is the one I put out when I want a guest to reach over and check if it is real.
Difficulty: Easy, new material to learn · Tools: Crepe paper and the free template · Best for: The most lifelike decor, gift toppers
My take: Buy the heavier florist crepe, not the party-streamer kind. The weight is what makes the petals behave.
Paper Hydrangea
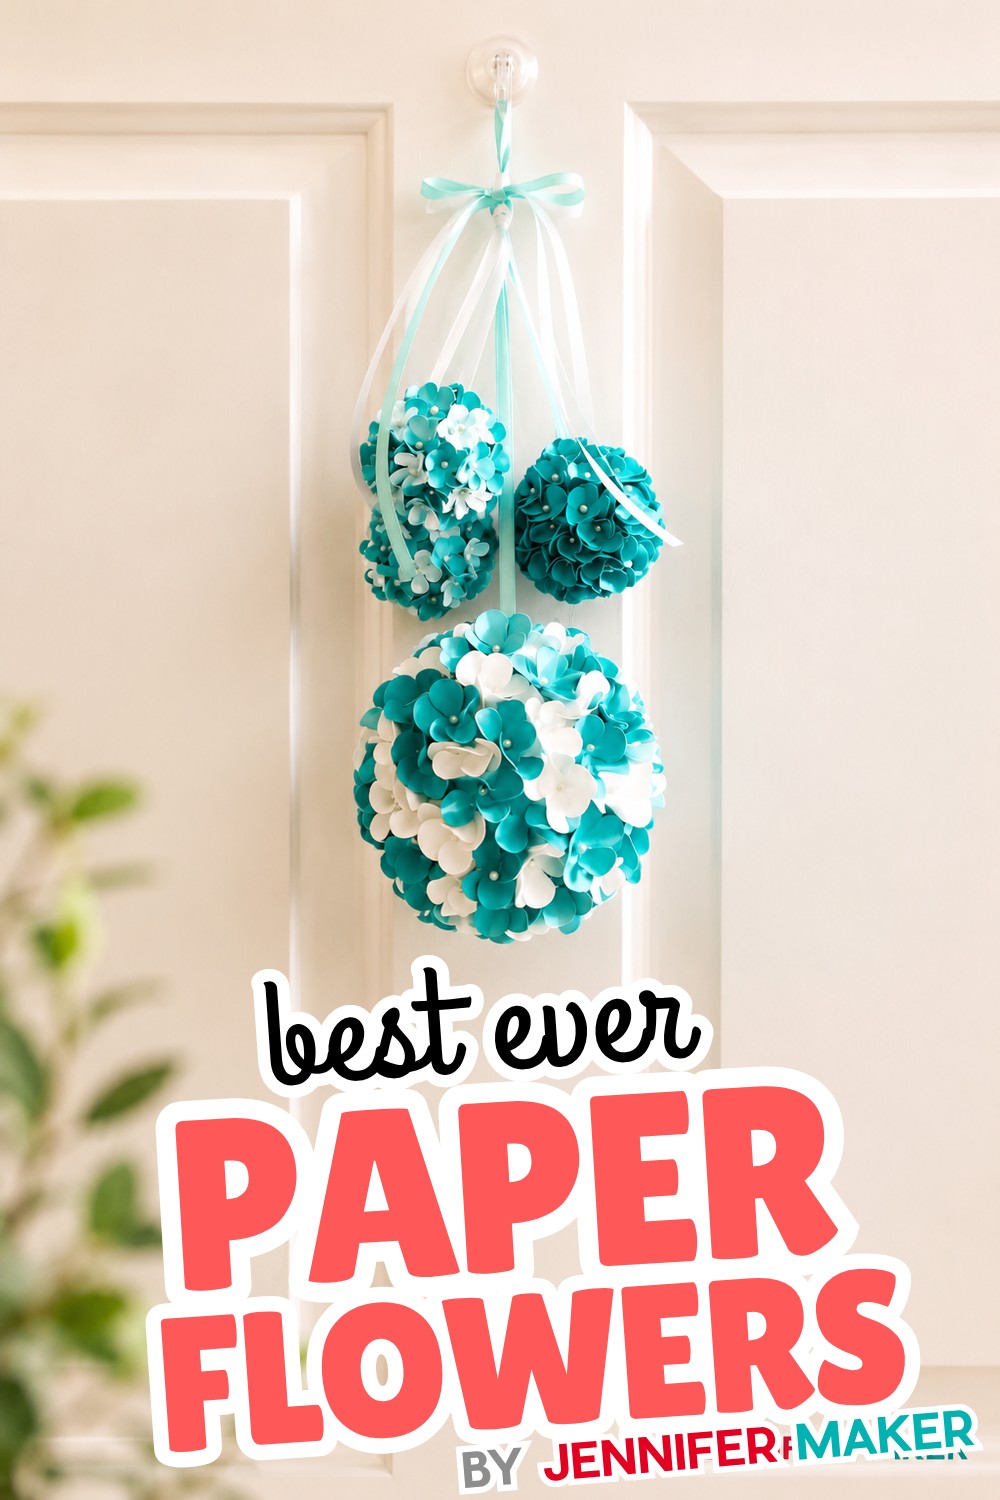
A hydrangea is really a cloud of tiny four-petal florets, and there is something wonderfully relaxing about assembling one. No single floret has to be perfect, because the fullness comes from the crowd of them together. It is forgiving in the best way, which makes it a lovely project to make while you are chatting or watching something.
Difficulty: Easy but repetitive · Tools: A cutting machine really helps with all those florets · Best for: Full, soft arrangements; wedding decor
My take: Blend two or three shades of the same color. Real hydrangeas are never one flat color, and that mix is what sells it.
Paper Cherry Blossoms
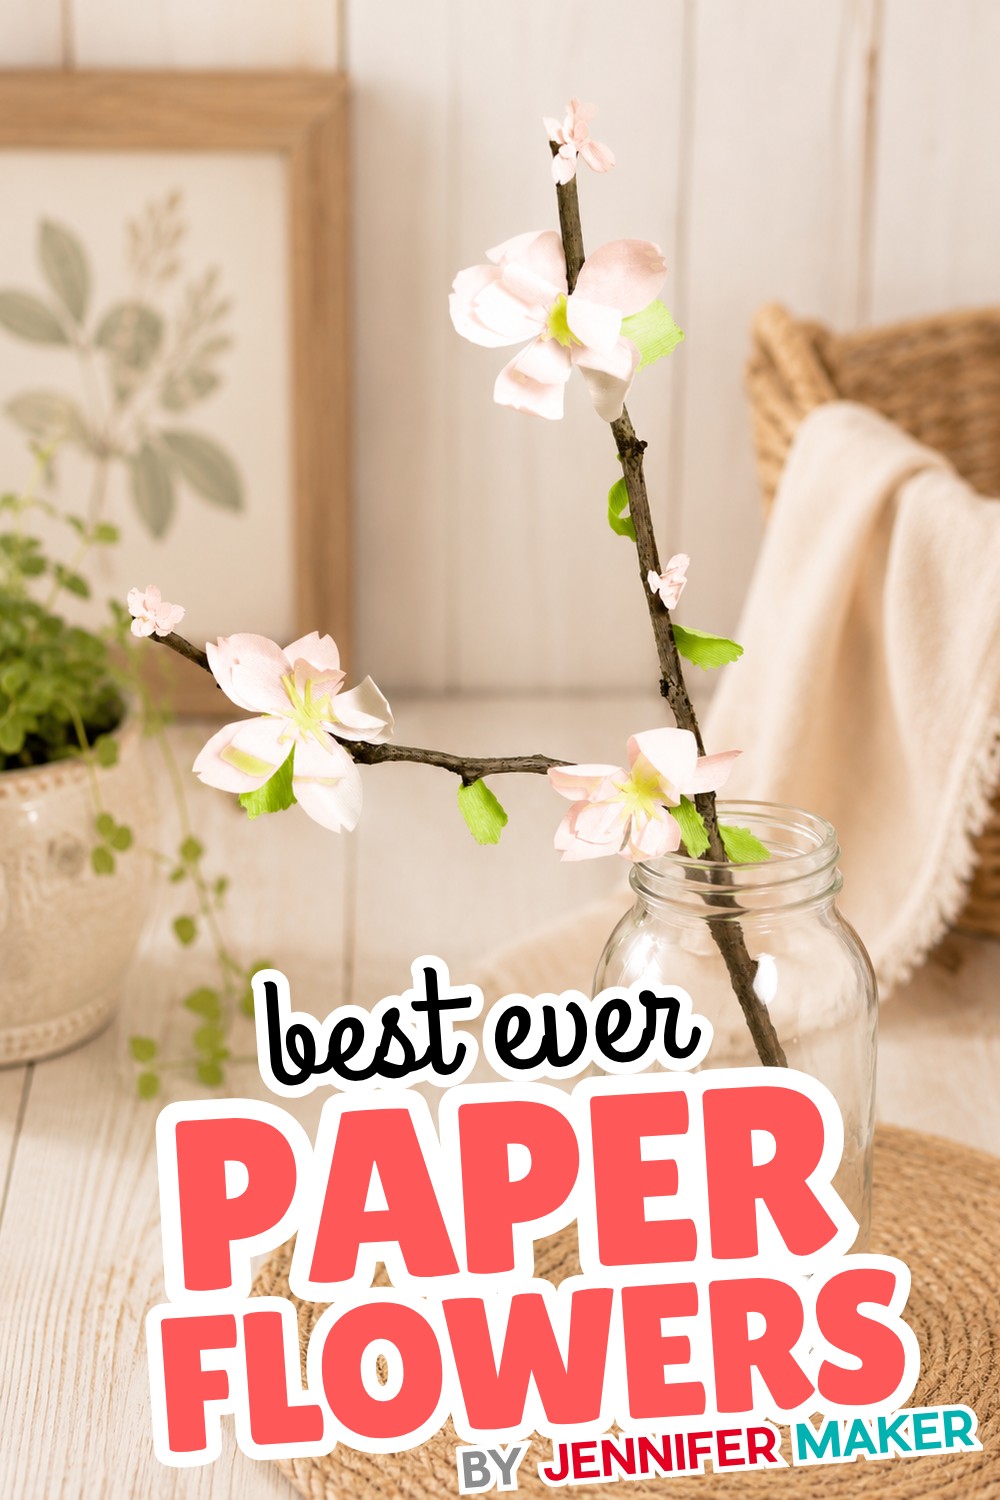
Cherry blossoms are small, delicate, and quietly stunning, especially strung along a branch. Each blossom is simple, so this is an easy make, but the effect is anything but plain. It is the flower I recommend when someone wants something elegant and a little unexpected rather than a big showy bloom.
Difficulty: Easy · Tools: Free template; a machine keeps the small petals tidy · Best for: Spring decor, branches, delicate arrangements
My take: Hot-glue a few blossoms and buds onto a real branch from the yard. The mix of real and paper is the trick.
Paper Dahlia
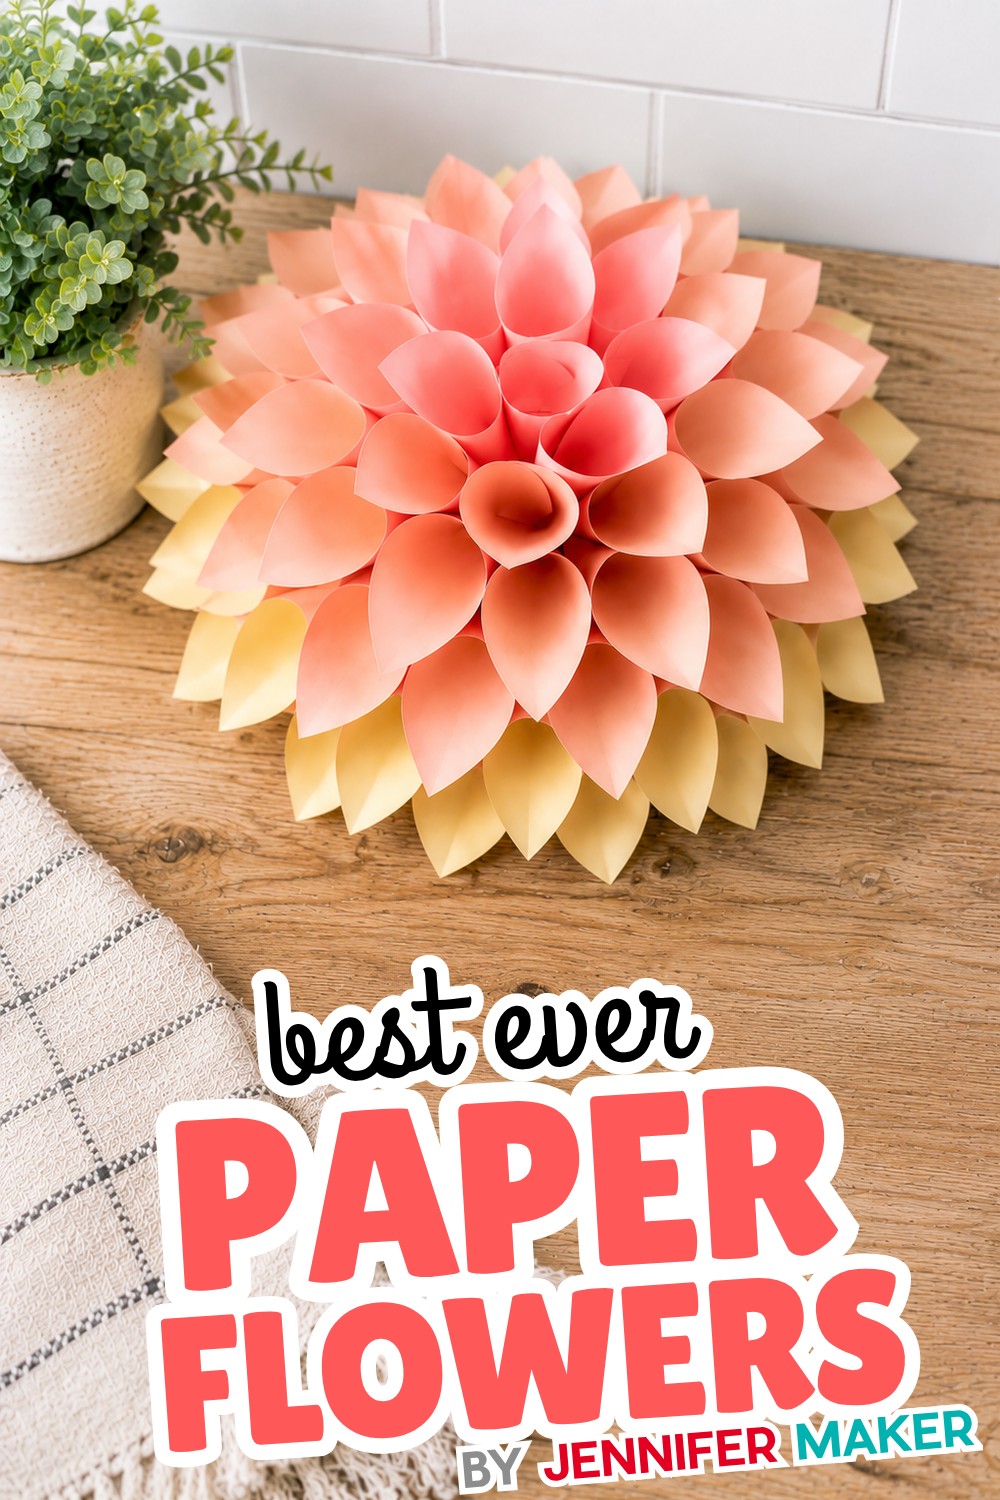
If you want the most drama from a single bloom, the dahlia is it. All those pointed, layered petals spiraling out from the center give it incredible dimension, and it is the flower people always assume was the hardest one to make. I designed it in a few different styles so you can go as simple or as showy as you like, which makes it a fun one to grow into as your skills build.
Difficulty: Easy to intermediate (lots of petals, simple shapes) · Tools: Free SVG and PDF; cut by hand or with a Cricut · Best for: A bold, colorful statement bloom
My take: This is the one to make in a color you would never find at a florist. A dahlia in bright coral or deep plum looks intentional and modern, and the shape carries any color beautifully.
Turn your flowers into something finished
Once you can make a few blooms, these two projects show you what to do with them, whether you want a gift that lasts or a full wall of flowers for a special day.
DIY Paper Flower Bouquet (with 3D Flowers)
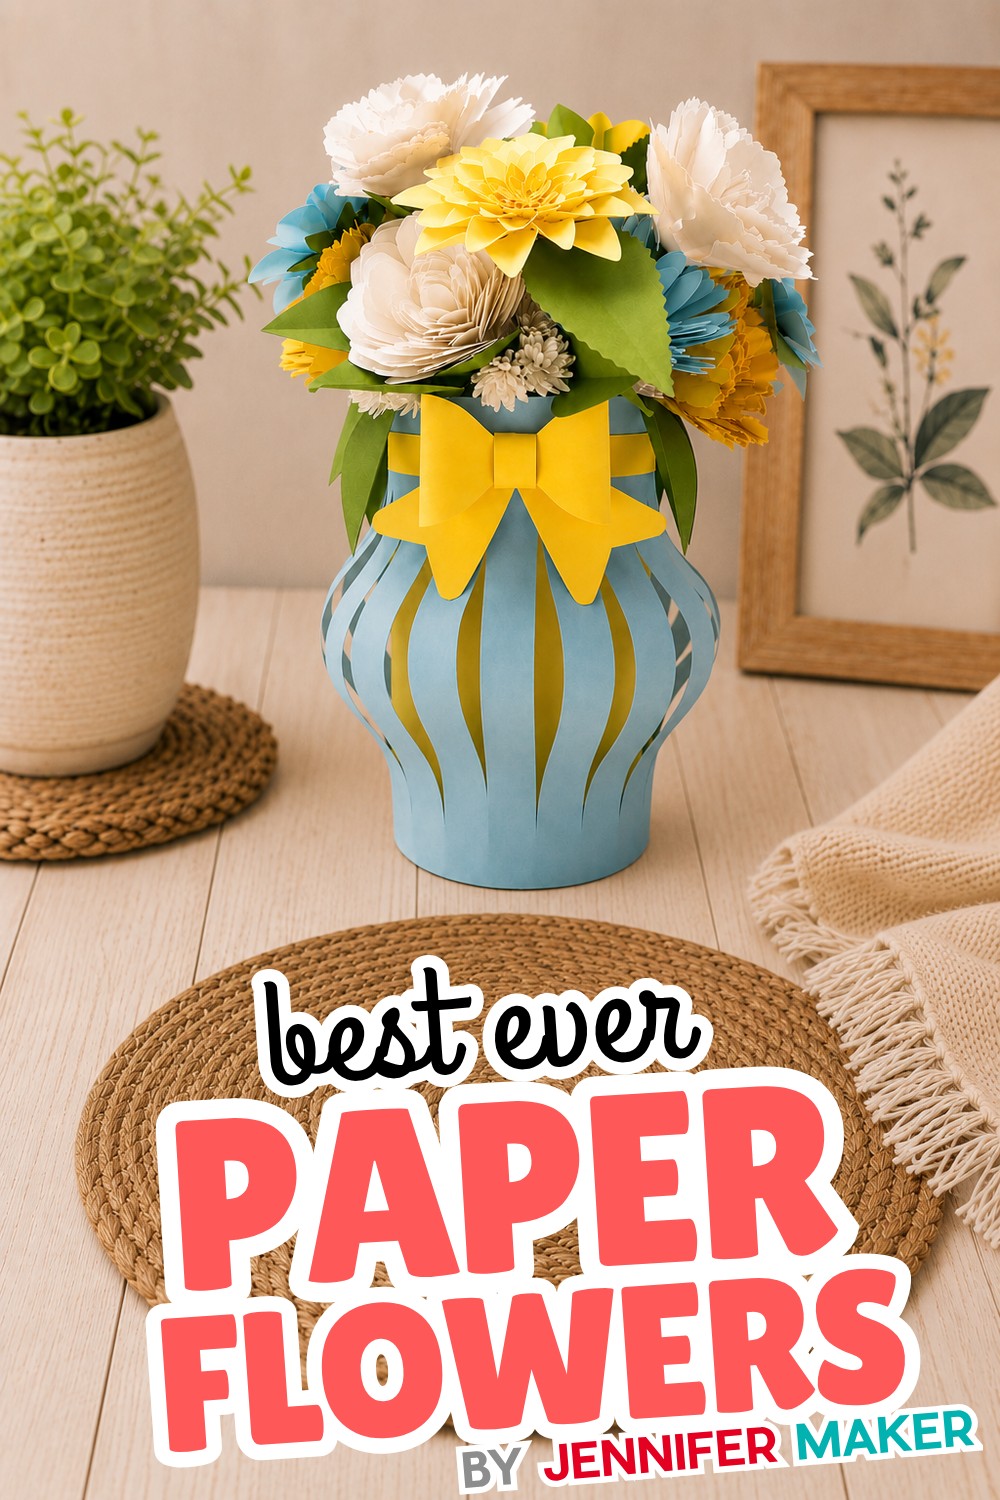
This is the project that turns your blooms into a real gift, a full bouquet with dimensional 3D flowers that will never wilt. It is the one I recommend for a birthday, an anniversary, or Mother’s Day, because it looks like a florist arrangement but it lasts forever. It builds on the flower skills from earlier in this list, so it is a satisfying next step, not a from-scratch struggle.
Difficulty: Easy to intermediate (a few flowers combined) · Tools: Free templates; hand or machine · Best for: Gifts, Mother’s Day, keepsake bouquets
My take: Wrap the finished bouquet in real florist paper and twine. That last touch is what makes people think you bought it.
Paper Flower Backdrop (a Full 8’×8′ Wall)
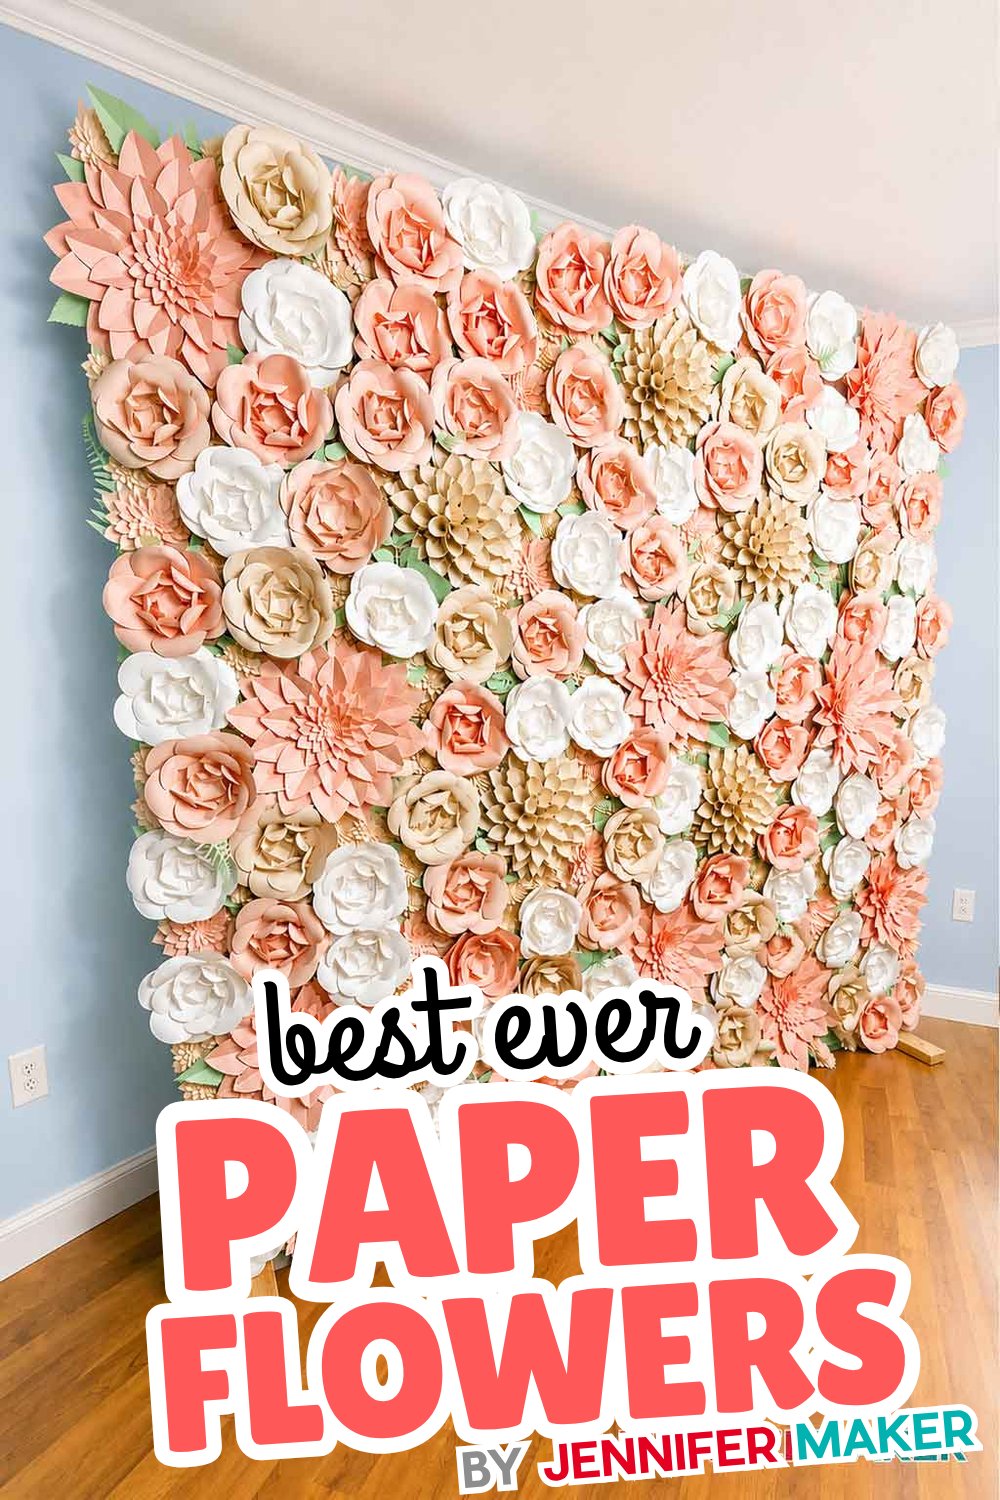
This is the grand finale, a complete wall of flowers for a wedding, a shower, or a photo booth that people will not stop taking pictures in front of. It is the biggest commitment here, and it uses the giant flowers from earlier, so think of it as the destination once you have a few big blooms under your belt. I walk you through exactly how to arrange and mount them so it looks full and professional.
Difficulty: A project, not an afternoon · Tools: Several giant flowers plus a mounting plan · Best for: Weddings, showers, events, photo walls
My take: Make your flowers over a few weeks so it never feels like a marathon, then assemble the wall the day before. Mixing flower sizes is what keeps a big wall from looking like wallpaper.
A few questions before you start
Do I need a Cricut to make these?
Not for most of them. Nearly every flower here comes with a printable PDF pattern you can cut by hand with scissors or a craft knife. A Cricut or Silhouette just makes it faster and cleaner, and it earns its keep on the tiny or many-petaled flowers like the miniature roses and the hydrangea.
What kind of paper works best?
For most of these, sturdy 65 lb or 80 lb cardstock holds a petal curl beautifully. The exception is the crepe peony, which needs florist-weight crepe paper for that lifelike stretch.
Which should a total beginner make first?
The rolled paper rose, every time. Once you have made one, the daisy, tulip, and peony will all feel easy, because they share the same rolling idea.
Are the templates really free?
Yes. Every tutorial linked here includes free pattern and cut files. Just click through to the full tutorial on JenniferMaker.com to grab them.
More collections you’ll love
- Easy Cricut Projects for Beginners
- Handmade Paper Gifts Anyone Can Make
- Giant Paper Flowers for Weddings & Parties
Whichever flower you start with, I promise it is easier than it looks. Pick one, grab the free template, and make something that will still be blooming long after the real ones have faded.
Love,
Jennifer
